
1. Choose a character and map the three screens
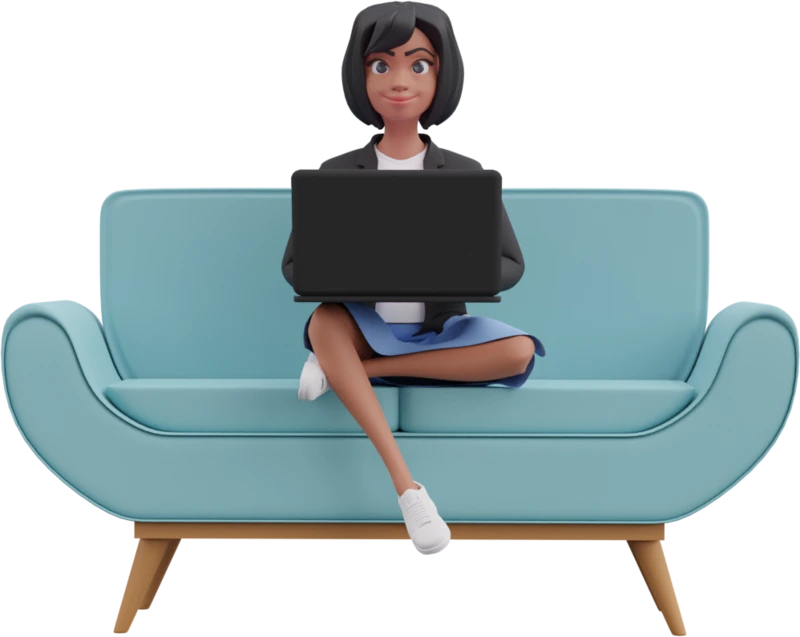
Get the free Illustrationz sample and choose the character working on a laptop on a blue sofa. It establishes the idea of a workspace before the reader reaches the form. For the later screens, the example keeps her hair and outfit consistent and changes the pose.
Write the three actions before arranging the artwork: Get started, Create workspace, and Open workspace. Each label tells the person what will happen next. The free sample has eight transparent PNGs. If you need more poses or an editable character to render a matching angle, see the Illustrationz collection’s Blender options.
2. Place the PNG in a phone frame
Create a phone-sized frame, such as 390 × 844 px, and add a solid background. Drag the PNG onto the Figma canvas and move its layer inside the frame. Figma imports the PNG as a rectangle with an image fill. Add the heading, supporting text and button as separate layers so you can change them without touching the artwork.
Build the welcome screen first. Use the heading Set up your workspace and put the illustration just above it. Duplicate the frame twice so the side margins and button position carry through. Rename the frames Welcome, Workspace name, and Ready so they’re easy to pick when you connect them.
3. Check the visible artwork at phone size
The original sofa PNG has clear space around the character, so the layer can fill the screen while the artwork still looks small. If that happens, double-click the image layer to open Figma’s Crop tool. Bring the edges inward until the artwork has enough room to breathe, then resize it proportionally. Keep the sofa and laptop intact on the welcome screen.
On the other two screens, try a closer crop. Preserve the phone and both hands on the setup screen, and leave space around the raised hand in the wave. Compare the three frames at phone size. If the artwork pushes the button out of the first view, shorten its panel or trim the empty space before reducing the text size.
4. Give each screen one job
On the setup screen, ask for one thing: the workspace name. Put a persistent Workspace name label above the field and use a sample name such as Studio Projects for the mockup. On the confirmation screen, repeat that name so the reader knows what was created. The close crops keep the character recognizable while leaving room for the field and confirmation.
-
1. Welcome
Set up your workspace
Give your projects a home.
Get started -
2. Workspace name

Name your workspace
Workspace nameStudio ProjectsCreate workspace -
3. Ready to go

Your workspace is ready
Studio Projects is ready for your first project.
Open workspace
5. Connect the steps and test the first run
In Figma’s Prototype tab, connect Get started to the Workspace name frame and Create workspace to Ready. Use Navigate to for each connection. If you’ve designed the app’s next screen, link Open workspace to it. For a simple mockup, the name can be fixed text.
Play the prototype from Welcome and click through using the buttons. Check that the name on the confirmation matches the form, the first action is visible on each screen, and each screen still makes sense if the artwork is hidden.
If your flow needs a pose or scene designed around your own wireframes, see how ThreeDee designs custom 3D illustrations for apps.
Try the layout with one of the eight transparent PNGs.
Get the free Illustrationz sample